.png?width=131&height=58&name=image%20(40).png "Kimball Midwest Slant Logo")

Need a professional-looking finish on a small budget? Spray paint can either help or hurt you. The quality of a paint job is a major factor in the perceived quality of a final project.
Spray paint can provide an inexpensive solution while also giving a project the perfect touch. Of course, the quality of the paint plays a big role in its performance, but following the proper spraying technique is just as important.
Prepare the Surface
To get good paint adhesion, make sure you have a clean, grease-free surface. Glossy or hard surfaces should be sanded down to allow for a better finished product. While sanding isn’t always necessary, it’s rarely a bad idea to scuff the surface you are painting to increase the chance of adhesion.
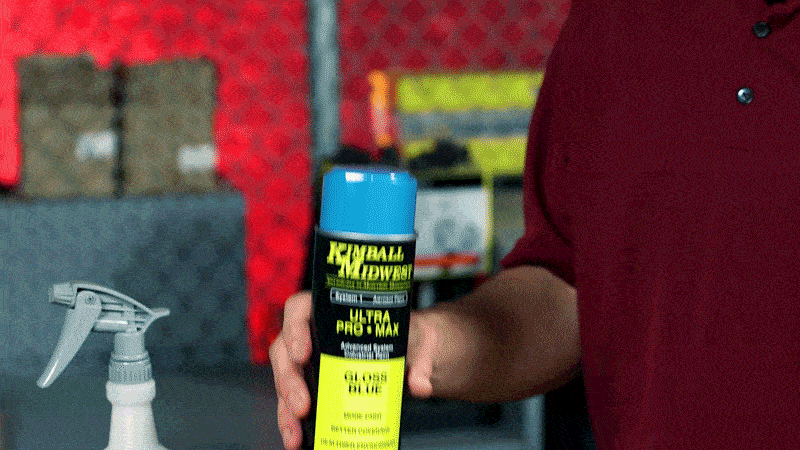
Shake the Paint
In spray paint, solids and solvents tend to separate over time. For an excellent paint job, all components must be mixed properly. Start by swirling the can until you hear metal-on-metal contact. Then shake the can for at least one minute. You might want to time out a minute of shaking, as it may seem longer than expected.
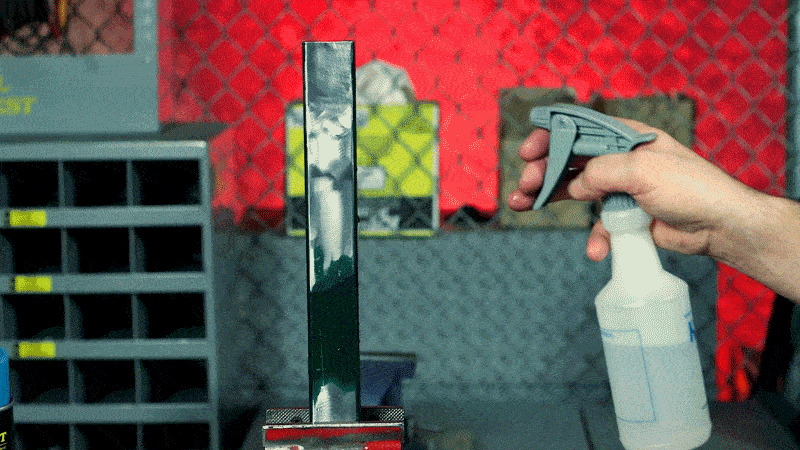
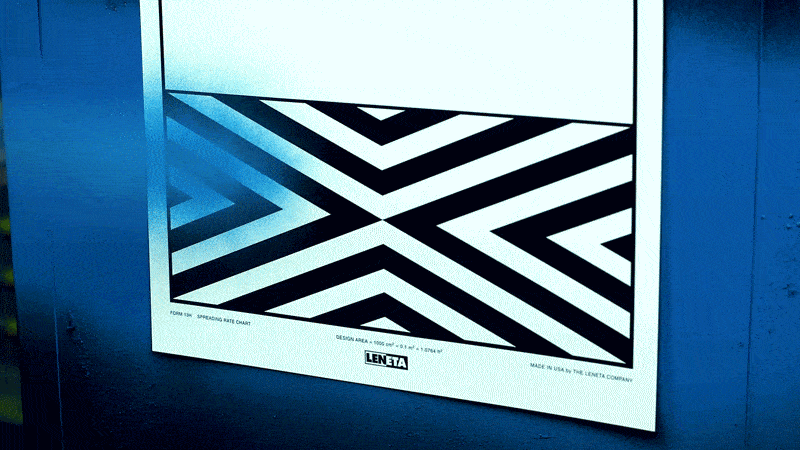
Be Aware of Spray Distance
Before you start painting, check the back of the can for a suggested spray distance. You can often use the paint can rotated perpendicular to the painting surface to measure the correct distance. Spraying too close to the surface will produce dripping.
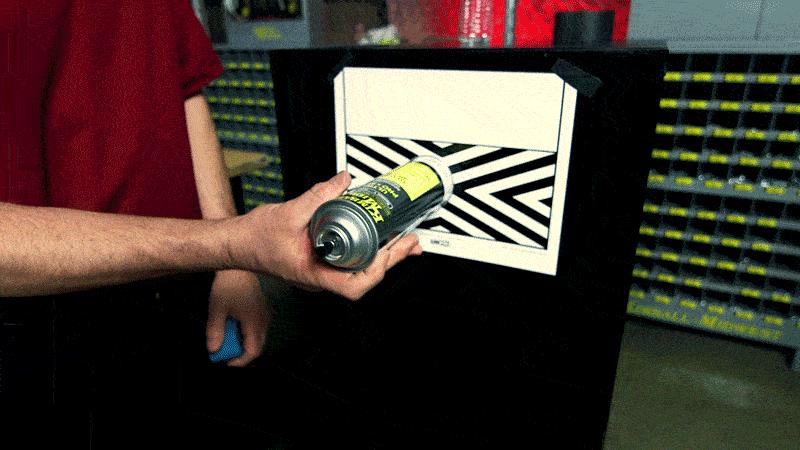
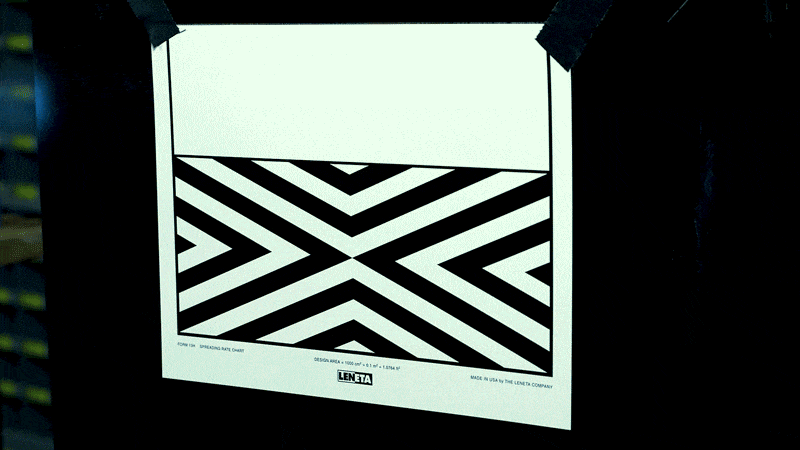
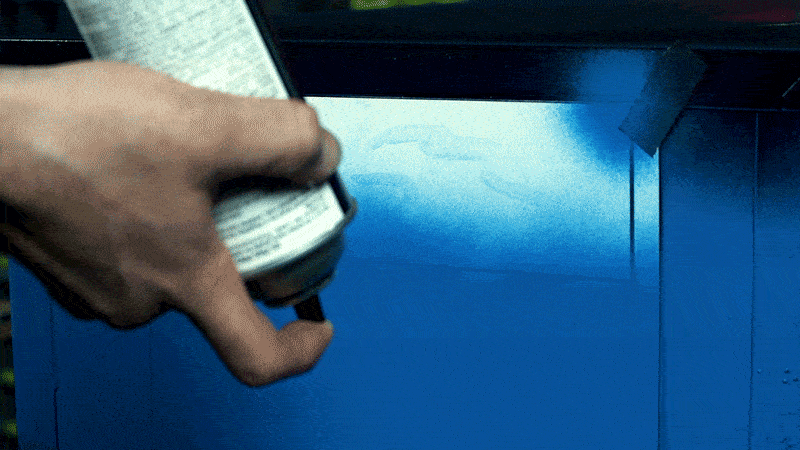
Begin Painting
When you begin spraying, start and finish off the edge of your project. If there are contaminants or air in the can, this step will keep those off the project when you start spraying. This step also will prevent uneven spots.
Consider a Tack Layer
If you are concerned about coverage, a tack coat typically can help. Using a tack coat will save you a lot of time and often delivers the results of multiple finish coats. Start with a thin layer to cover the surface. After a few minutes to allow the solvent to evaporate, follow up with a finish coat.
Prepare for Storage
When you’re finished painting, turn the can over and spray until it’s clear. This step will prevent clogs in the nozzle that would ruin the can of paint. Now you can pick up the can and start again without the fuss of unclogging or buying more paint.
For more tips and tricks like these, subscribe to the Kimball Midwest blog. 


