.png?width=131&height=58&name=image%20(40).png "Kimball Midwest Slant Logo")

Just like pretty much anything you need to do in your shop, having the right tool for the job and using it properly is very important when crimping electrical terminals.
Stories are told of people using hammers, pliers and even vises to crimp electrical connections. These approaches can lead to problems with poor electrical conductivity, wire pull-out failure, corrosion and more.
To make sure your electrical connections are secure and lasting, the key is a quality crimper. Cheap crimpers bend and deflect under pressure, leading to offset crimps that provide insufficient pressure at the crimp point. A good crimper, when used correctly, will create a high quality electrical and mechanical connection between the wire and the barrel of the terminal.
Depending on your use, you’ll choose from among four crimping tool options:
|
 |
|
 |
Once you’ve chosen the right crimper for the job, a successful crimp is easy if you follow four simple steps:
- Select the proper terminal for the application and wire size used.
To select the right terminal, here are some questions to ask:- Are weather or moisture a factor?
- Does this application involve movement and vibration?
- Do I want to connect multiple wires?
- Do I need to connect different sizes or gauges of wire?
- Is using a torch or heat gun a concern in this application?
- Do I have the proper tools to complete this connection?
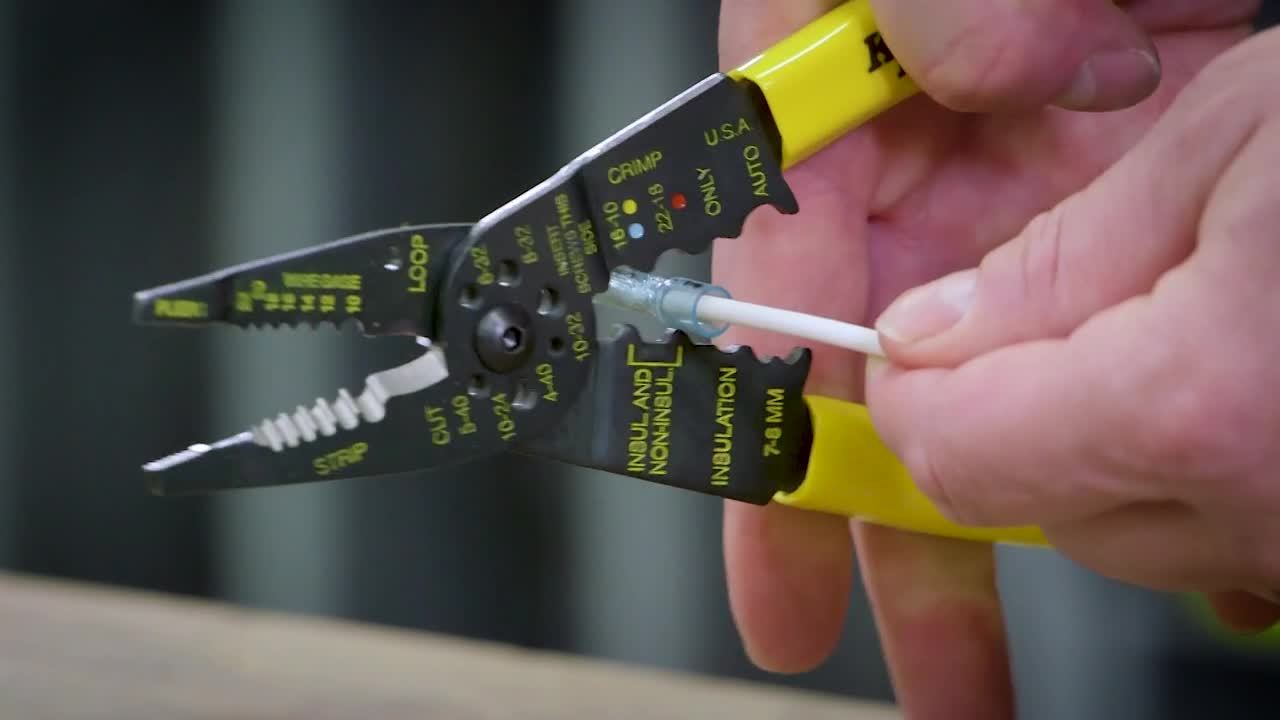
- Strip wire to the proper length.
Plan your strip length so at least 1/32” of wire can be seen protruding from the end of the terminal barrel (open barrel end terminals only). - Select the proper crimp nest for the terminal and wire size used.
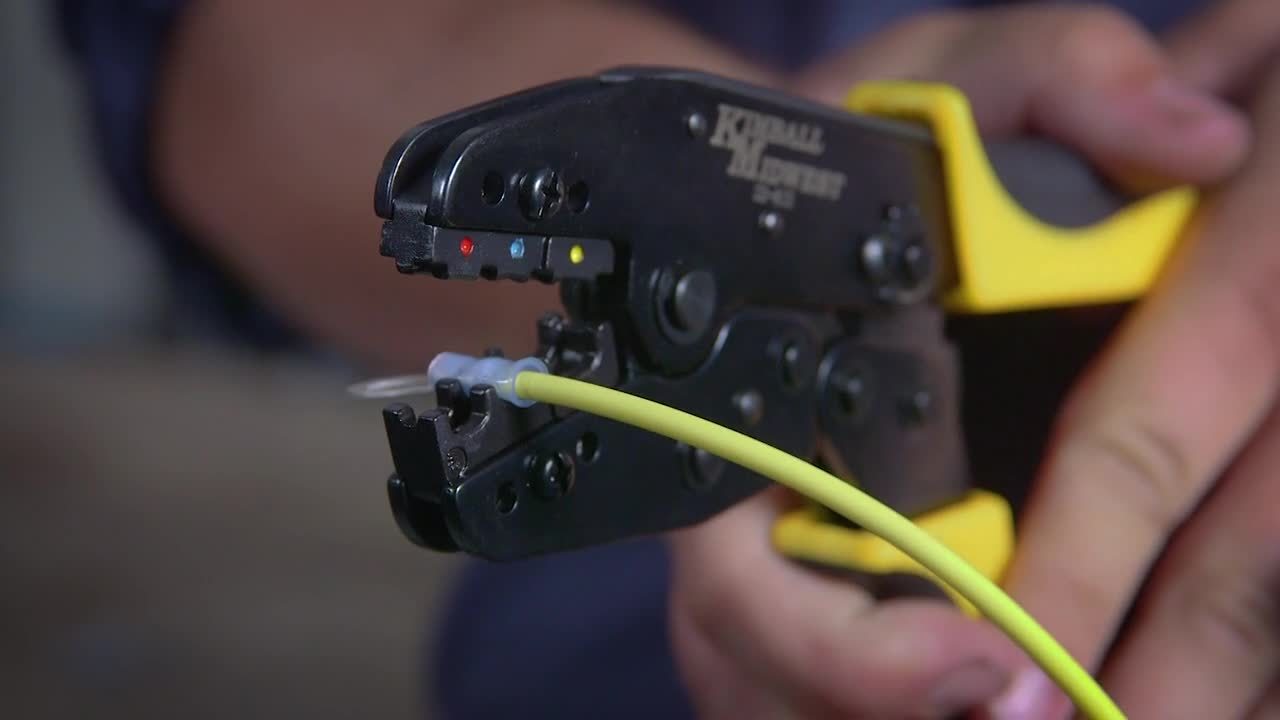
Most crimp tools are marked with colors and numbers to identify the proper crimp nests. - Perform the crimp.
Be sure to rotate the terminal so the tongue is level with the crimp nest. If you’re crimping a nylon insulated terminal with an insulation grip, crimp a second time on the flared barrel of the insulation housing (or use a ratcheting crimp tool that will provide both at the same time).
Even if you have quality components, a botched crimp will dramatically reduce the electrical connection’s reliability, leading to downtime and potentially dangerous situations.
If you need help finding the right crimper or other components for your electrical needs, 


